Instalación
Instrucciones de instalación y configuración
Cómo añadir un banner de cookies en un sitio web WordPress
En esta guía te mostraremos la instalación de CookiePal en un sitio web WordPress
Índice
Volver
Volver arriba
CookiePal te ayuda a garantizar que tu aplicación WordPress cumpla con el GDPR, CCPA, LGPD y otras leyes de privacidad mediante la gestión del consentimiento de cookies de los usuarios. Esta guía te guiará por los pasos para integrar CookiePal con tu aplicación WordPress.
Regístrate en CookiePal
If you do not yet have a CookiePal account or have not yet configured your banner, follow the steps below.
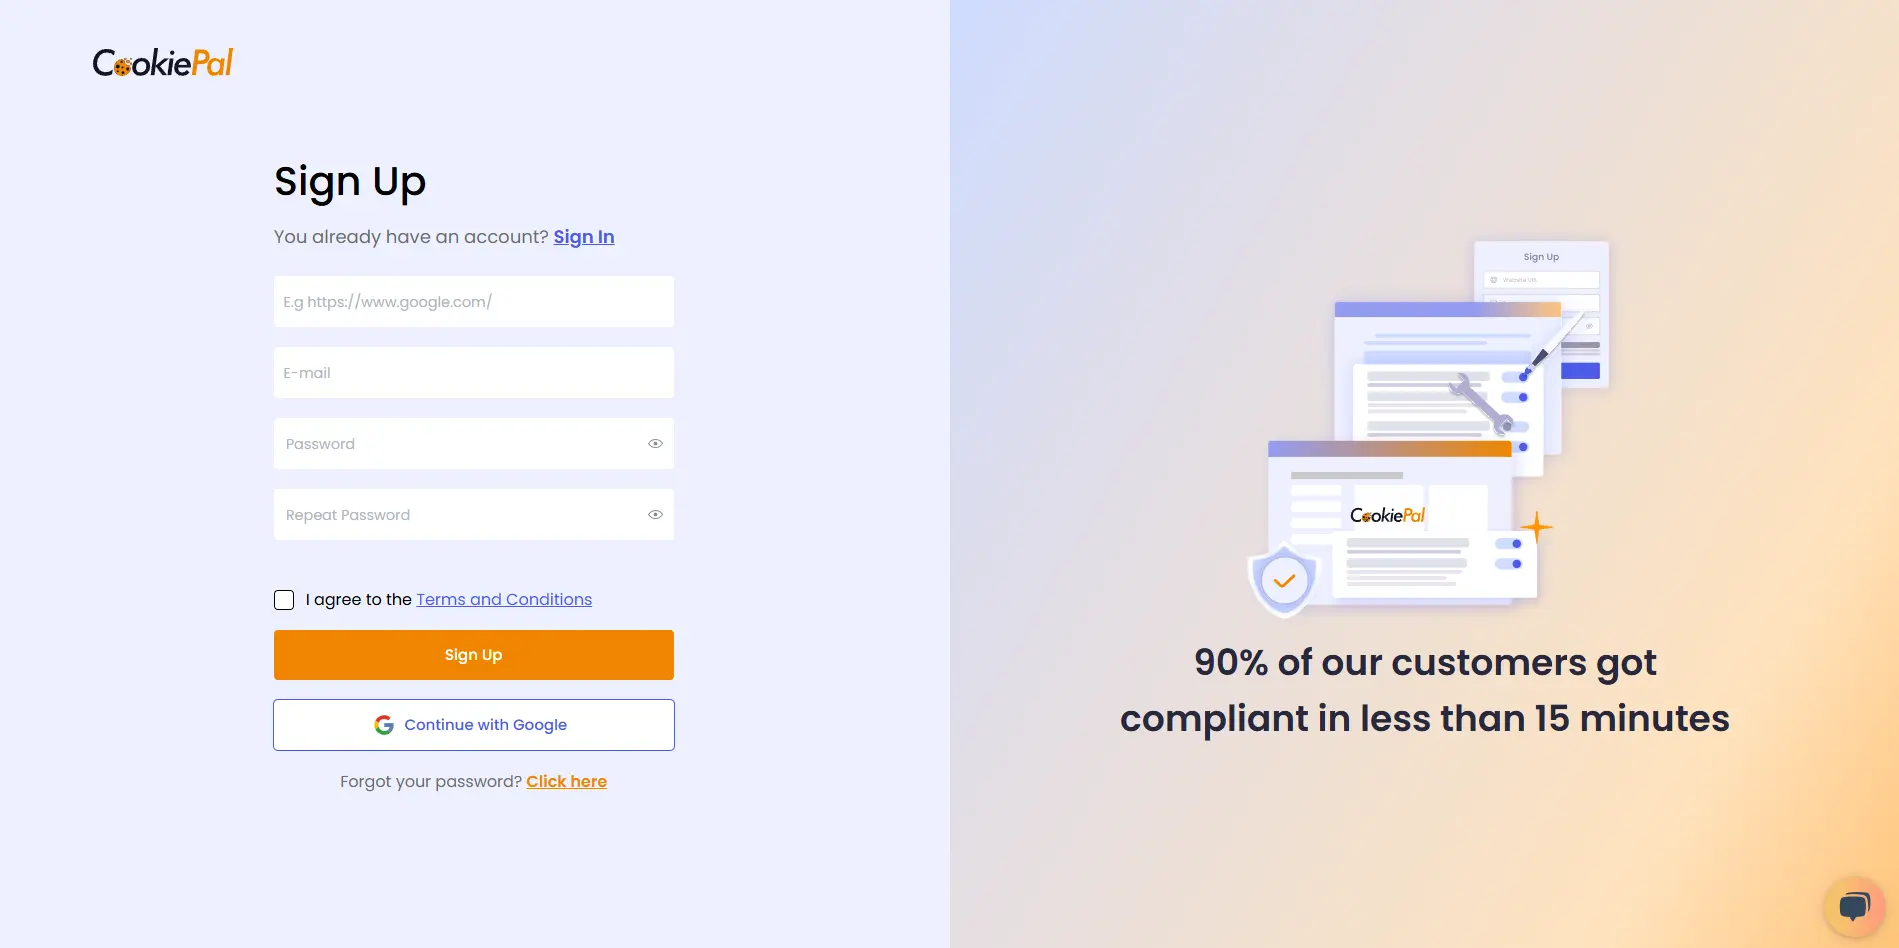
1. Sign up for CookiePal.
2. After confirming your email, you will be directed to the setup screen. Choose your setup option.
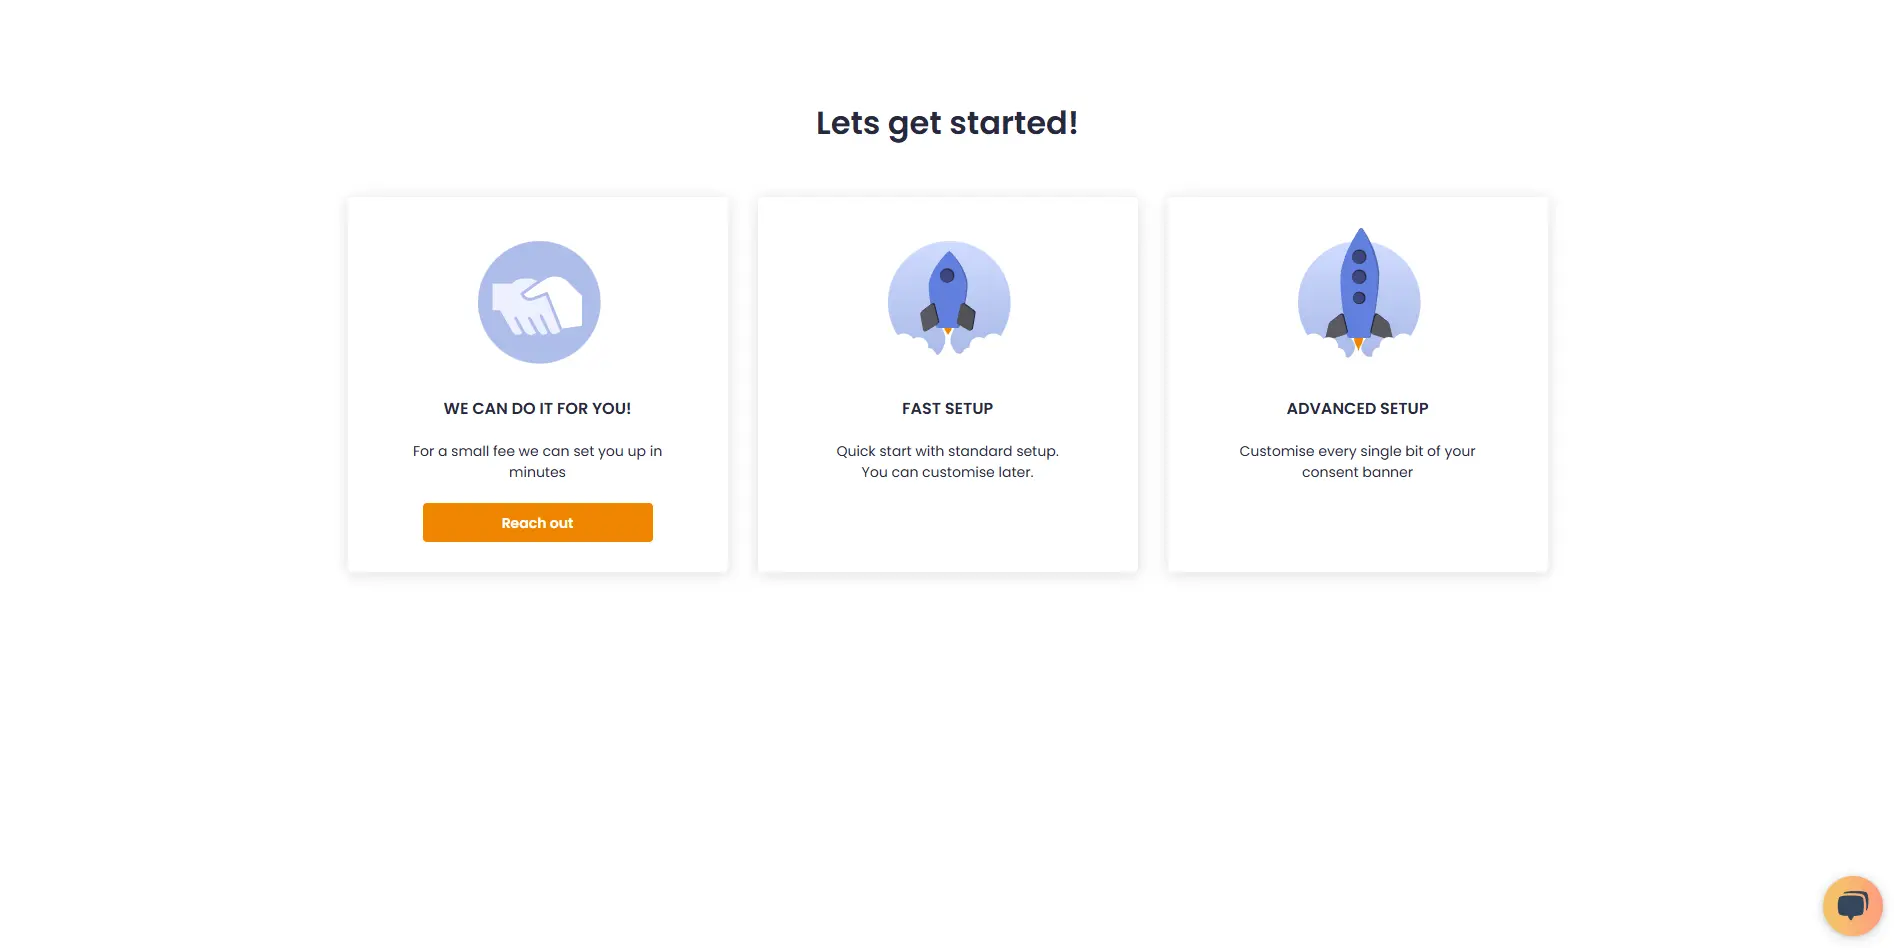
• We can do it for you!: Select this option to let our team handle the setup for a small fee.
![• [We can do it for you!:bold]: Select this option to let our team handle the setup for a small fee.](/_next/static/media/we-can-do-it-for-you.e1c36463.webp)
• Fast Setup: Quickly configure your banner by selecting its position and colors. You can still customise other details later in customisations.
![• [Fast Setup:bold]: Quickly configure your banner by selecting its position and colors. You can still customise other details later in [customisations:https://app.cookiepal.io/customisation].](/_next/static/media/customise-banner-colors-and-positions.5ac76d26.webp)
• Advanced Setup: Customise every detail of your banner. In addition to position and colors, you can edit the content and default language, and adjust the logo's colors and position.
![• [Advanced Setup:bold]: Customise every detail of your banner. In addition to position and colors, you can edit the content and default language, and adjust the logo's colors and position.](/_next/static/media/customise-banner-content.49d06789.webp)
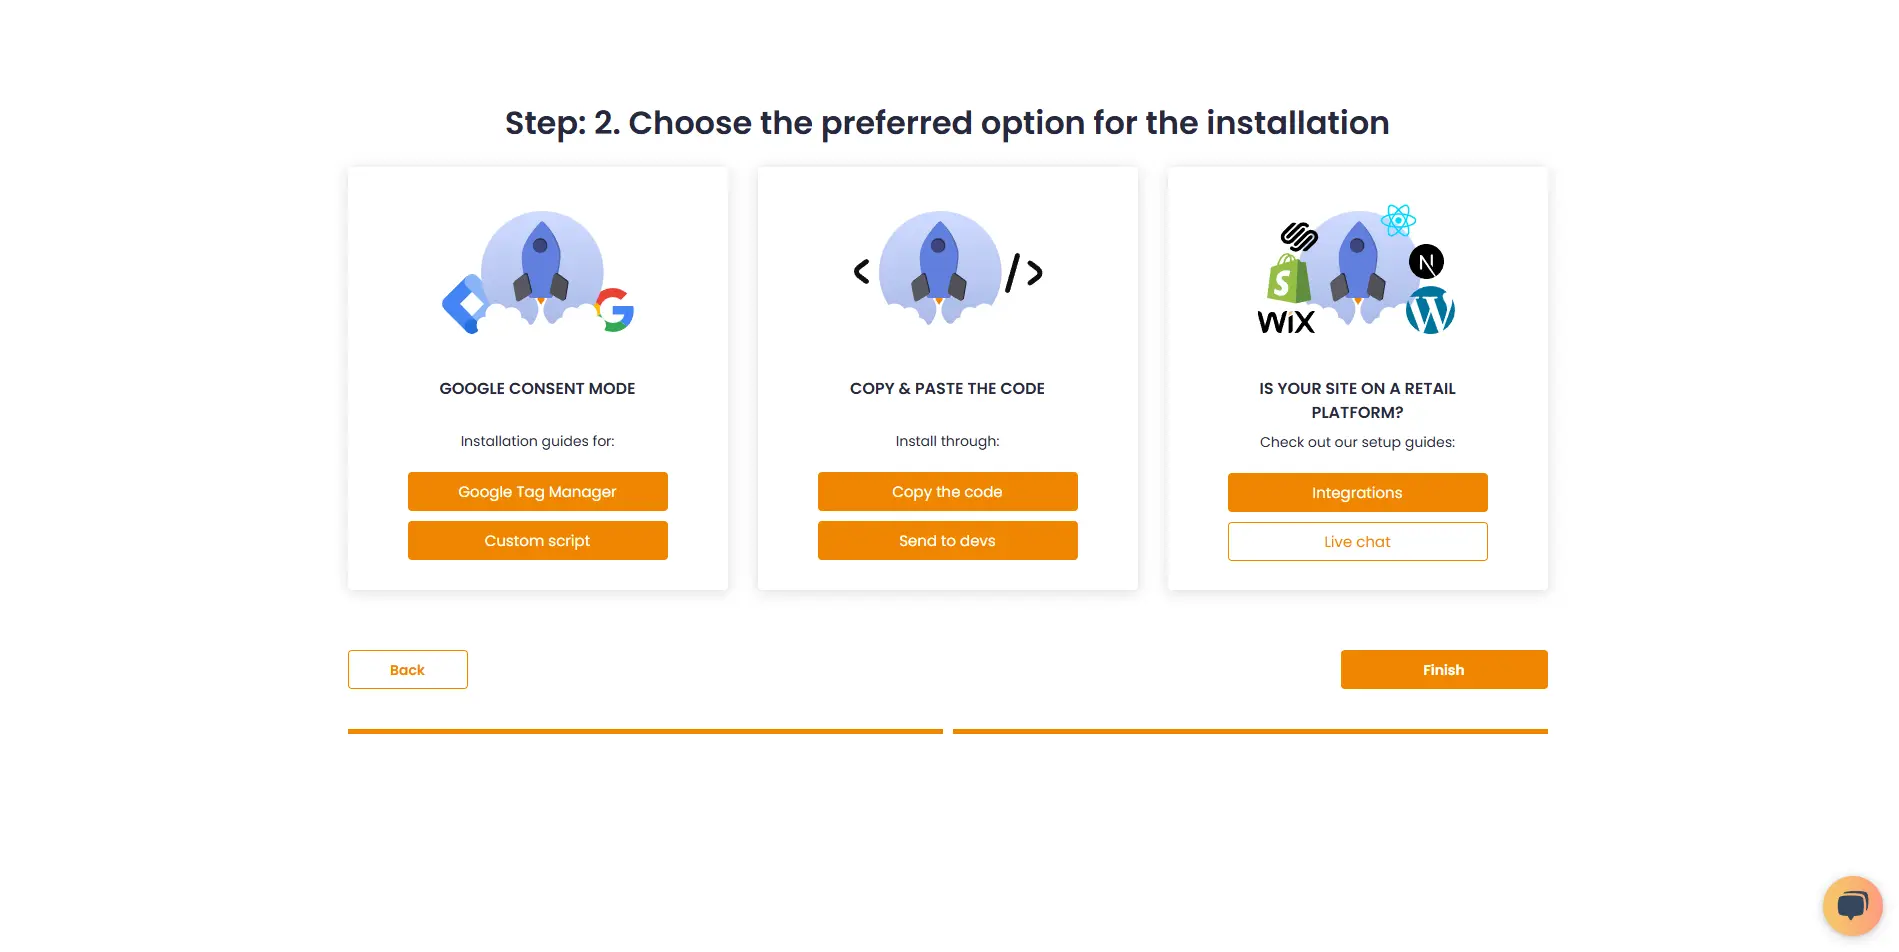
4. Choose your preferred installation method and complete the setup.
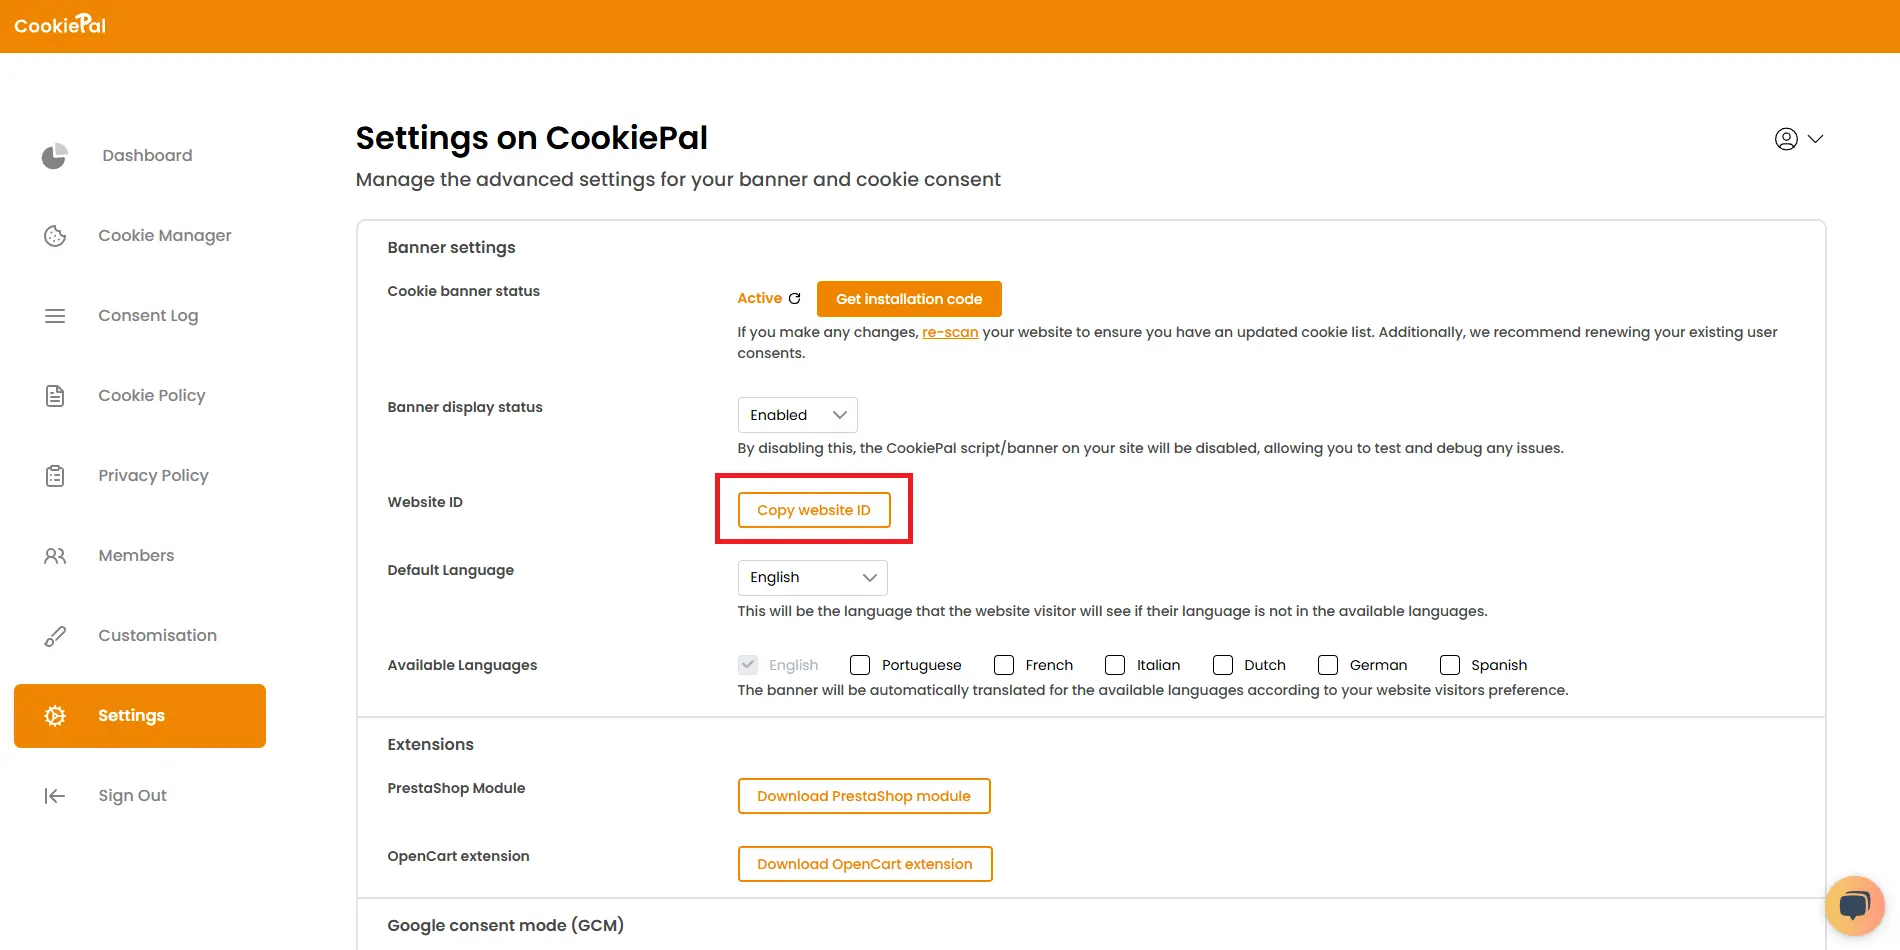
Accede a la configuración: abre la página de configuración en el dashboard de CookiePal.
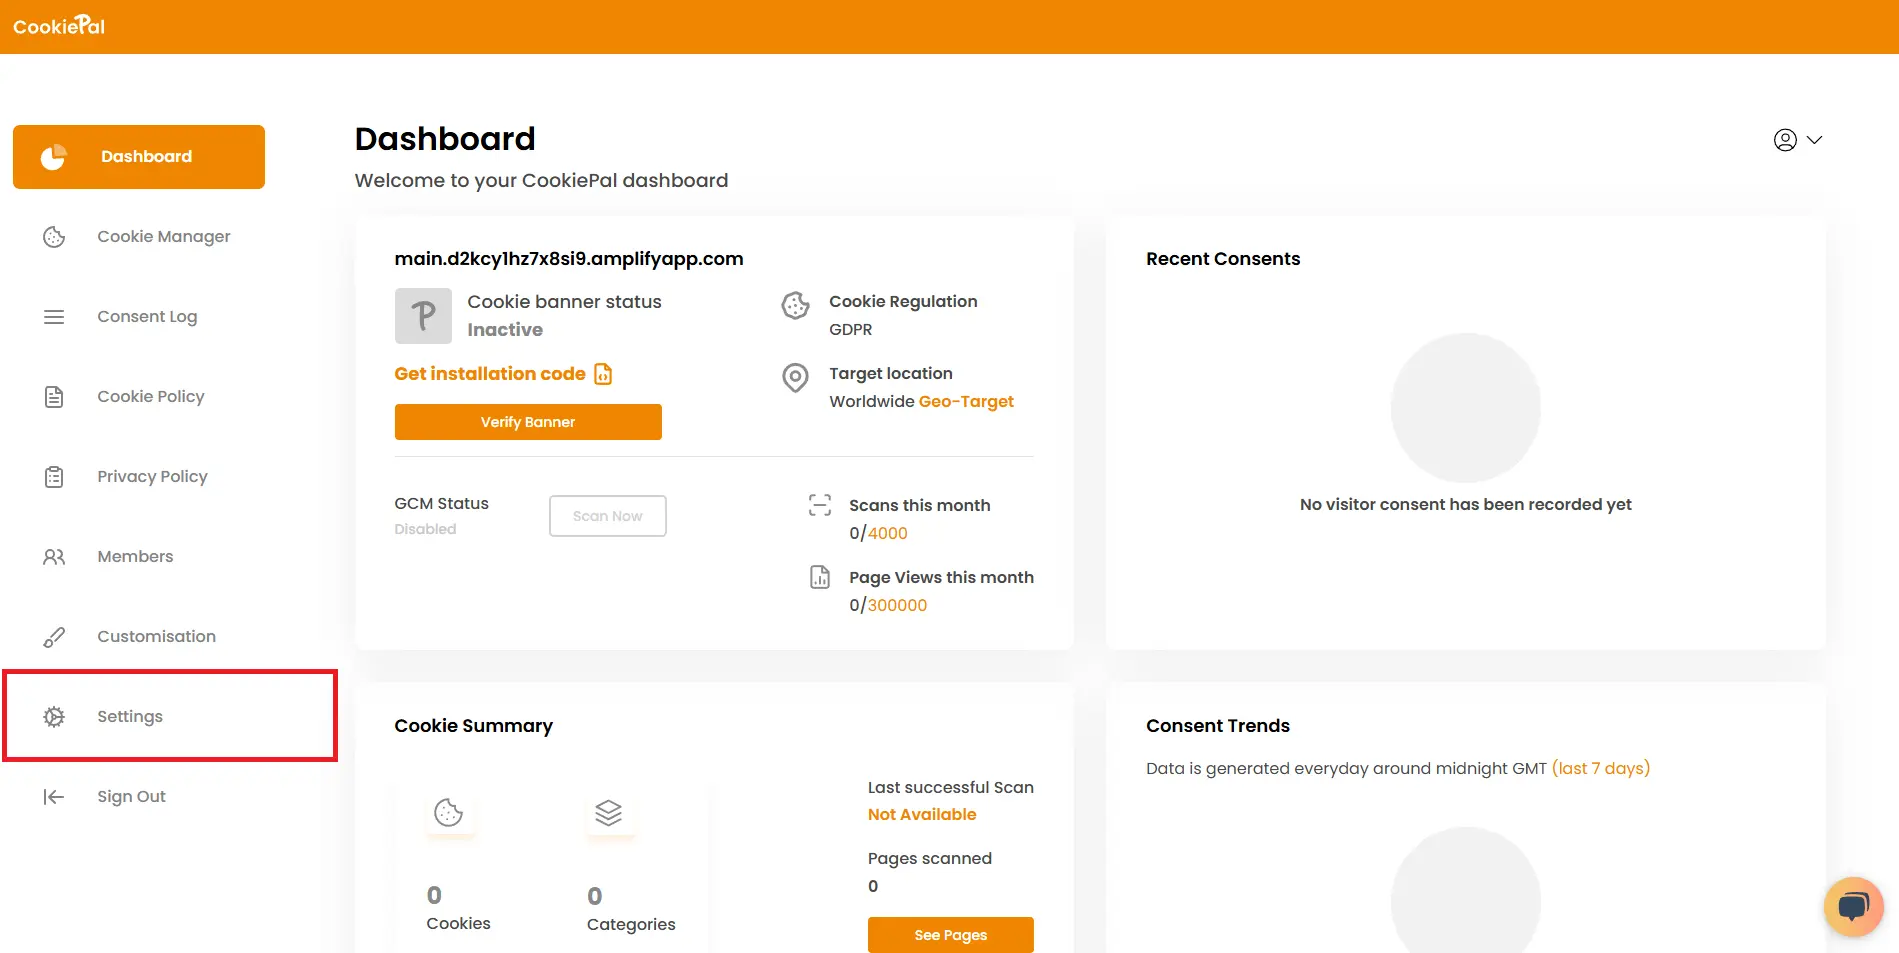
Copiar ID del sitio web: en la configuración, haz clic en "Copiar ID del sitio web" para guardar el ID y utilizarlo en tu integración.
Instala el plugin CookiePal
Instalación del plugin: en el panel de administración de WordPress, ve a 'Plugins' > 'Añadir nuevo' y busca 'CookiePal'.
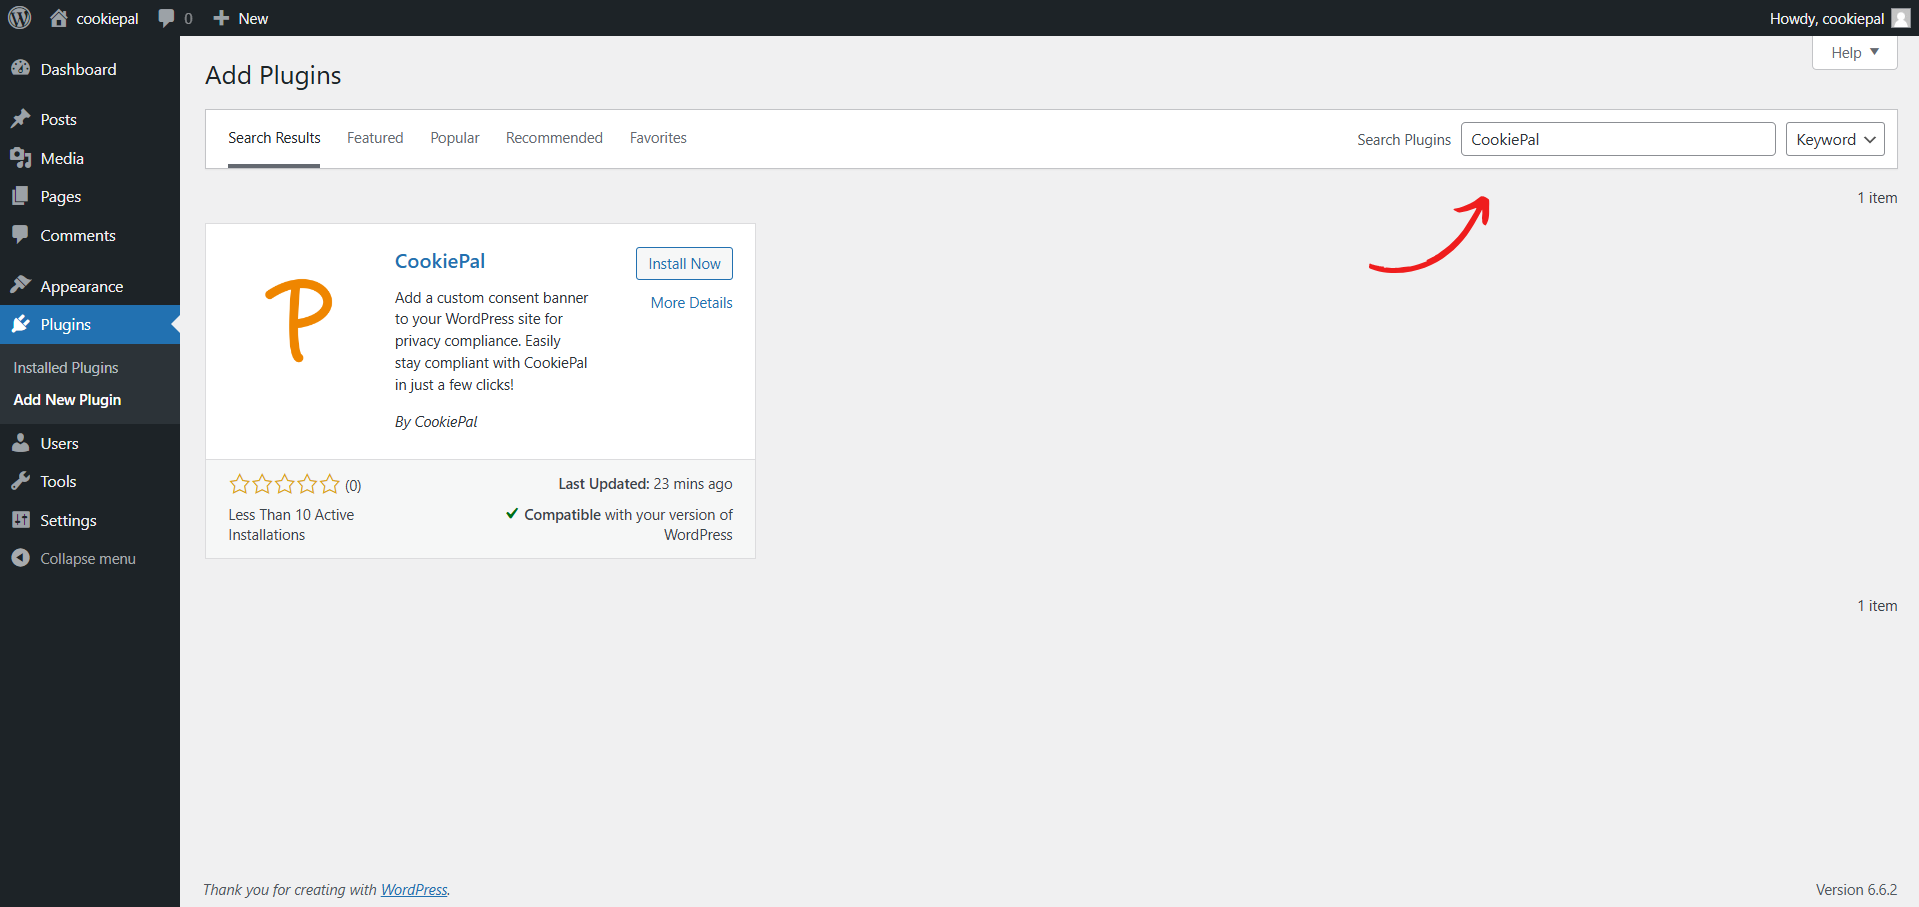
Instala CookiePal: haz clic en "Instalar ahora".

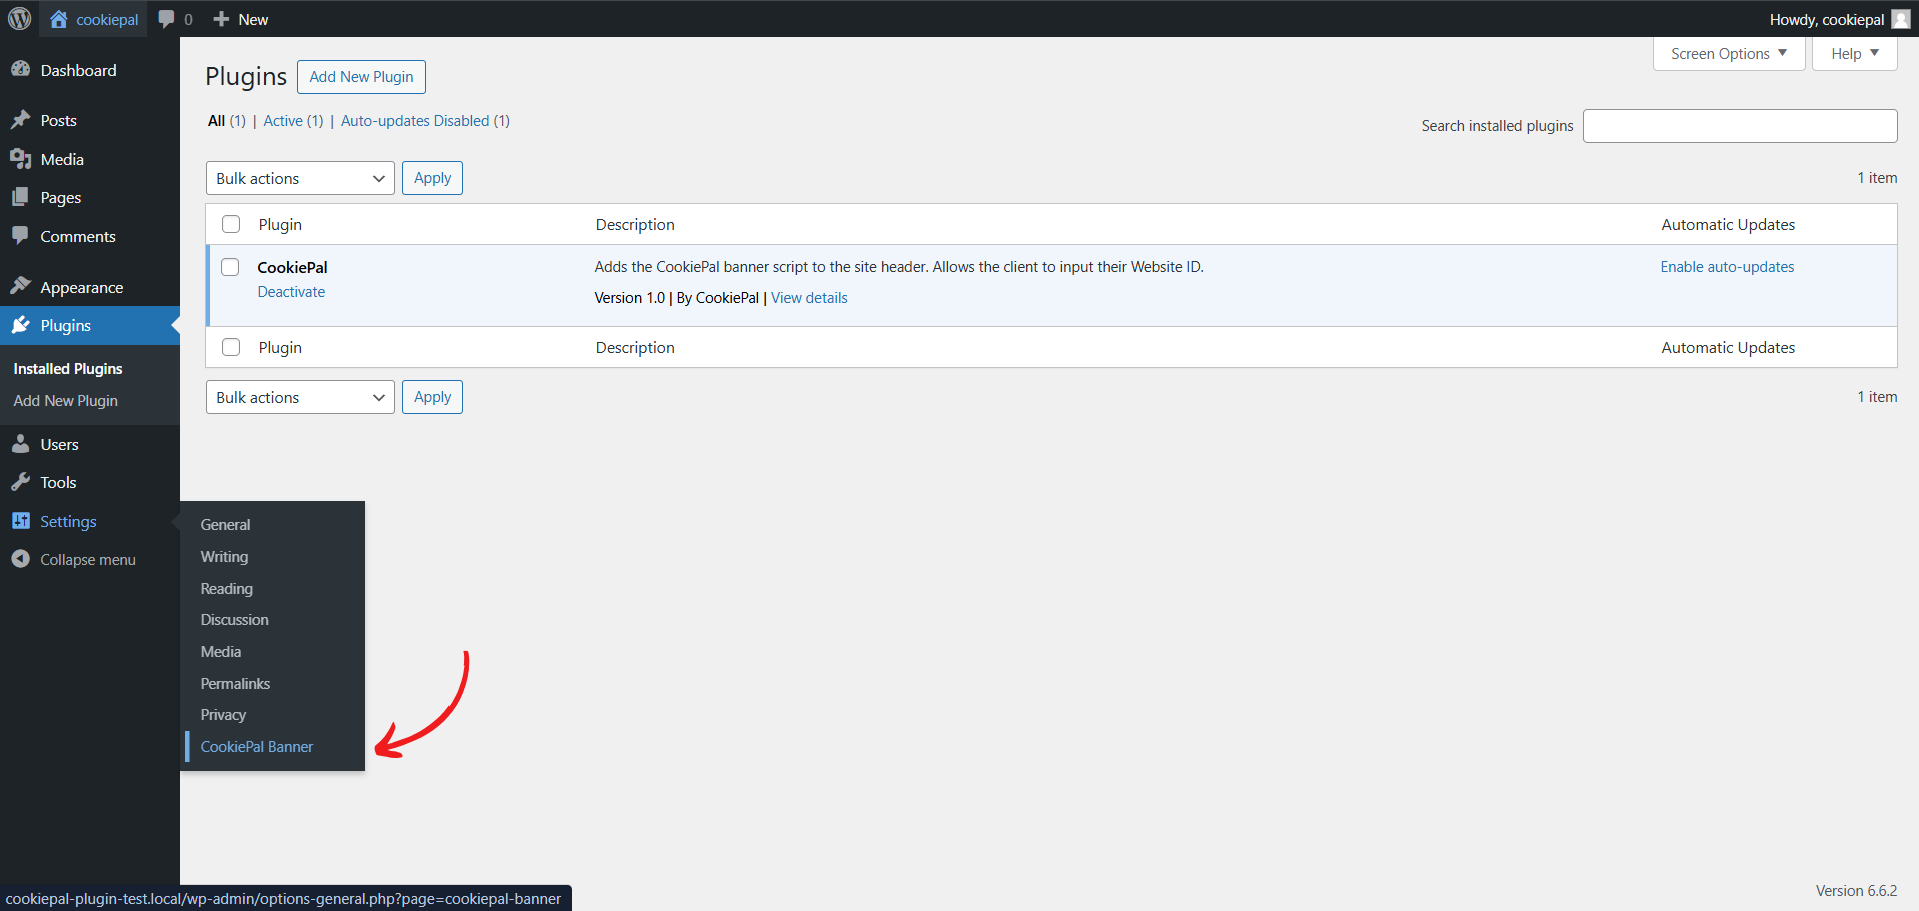
Activar plugin: haz clic en 'Activar'.

Configurar el plugin CookiePal
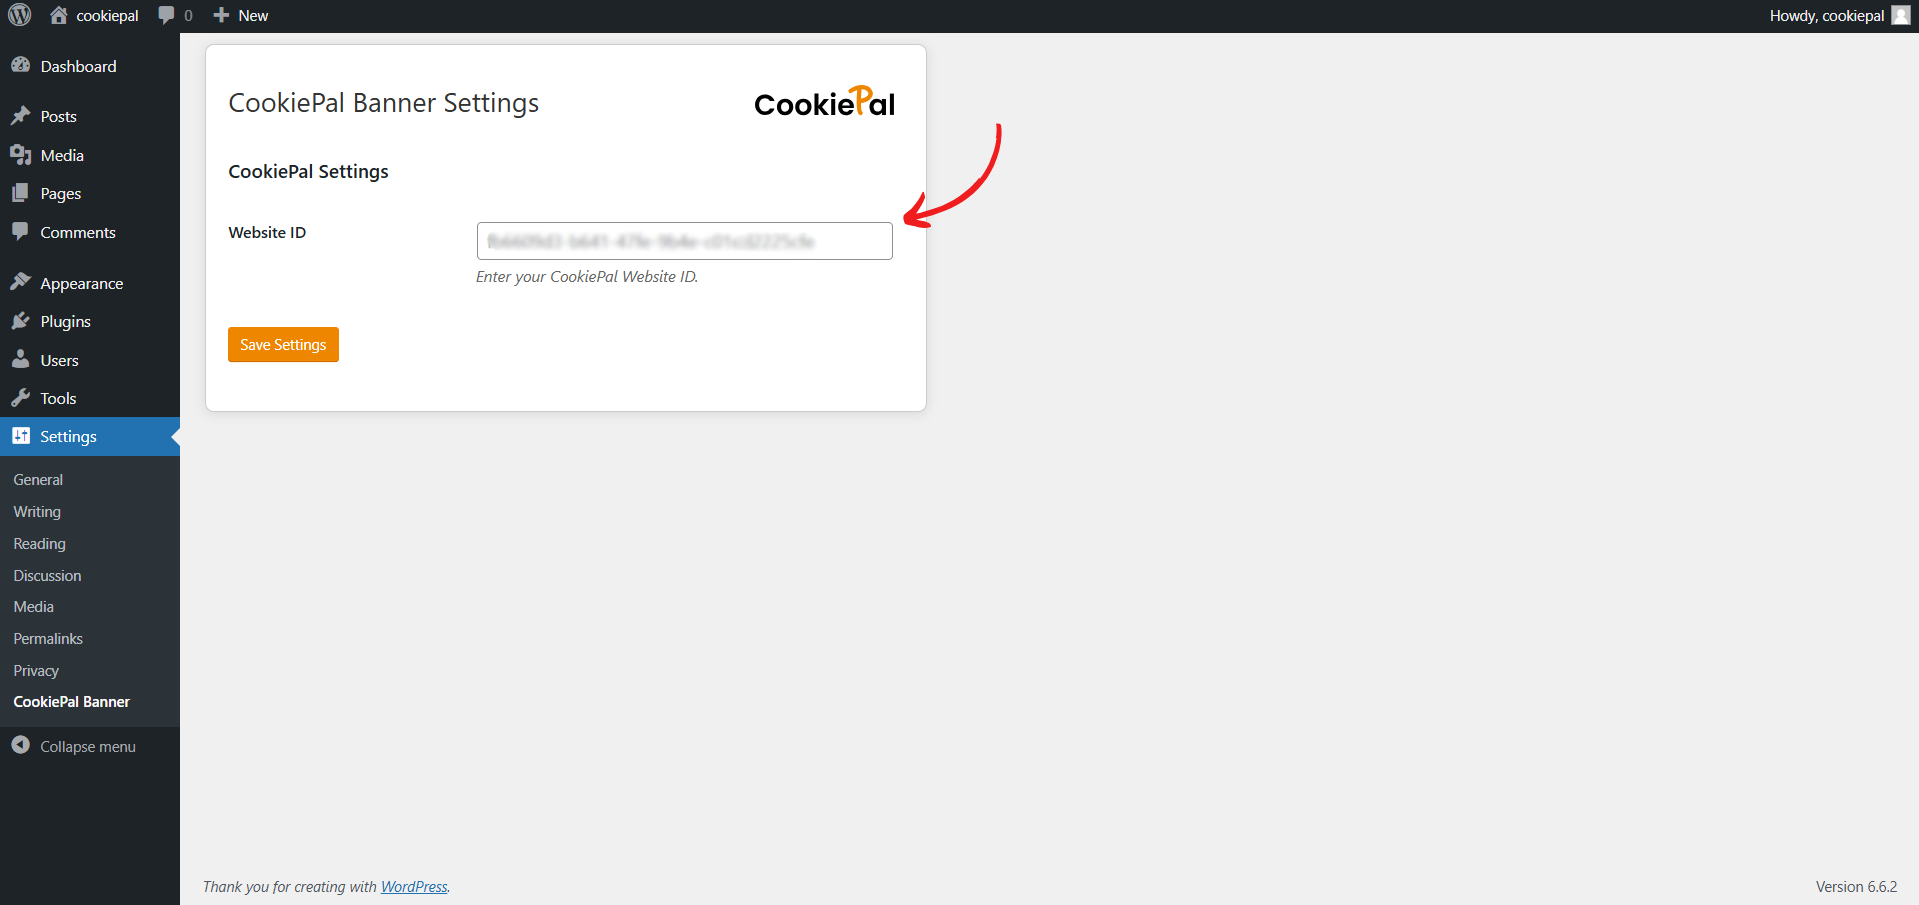
Abre la configuración del plugin: en el panel de administración de WordPress, ve a "Configuración" > "Banner CookiePal".
Ingresa el ID del sitio web: ingresa el ID de tu sitio web proporcionado por CookiePal.
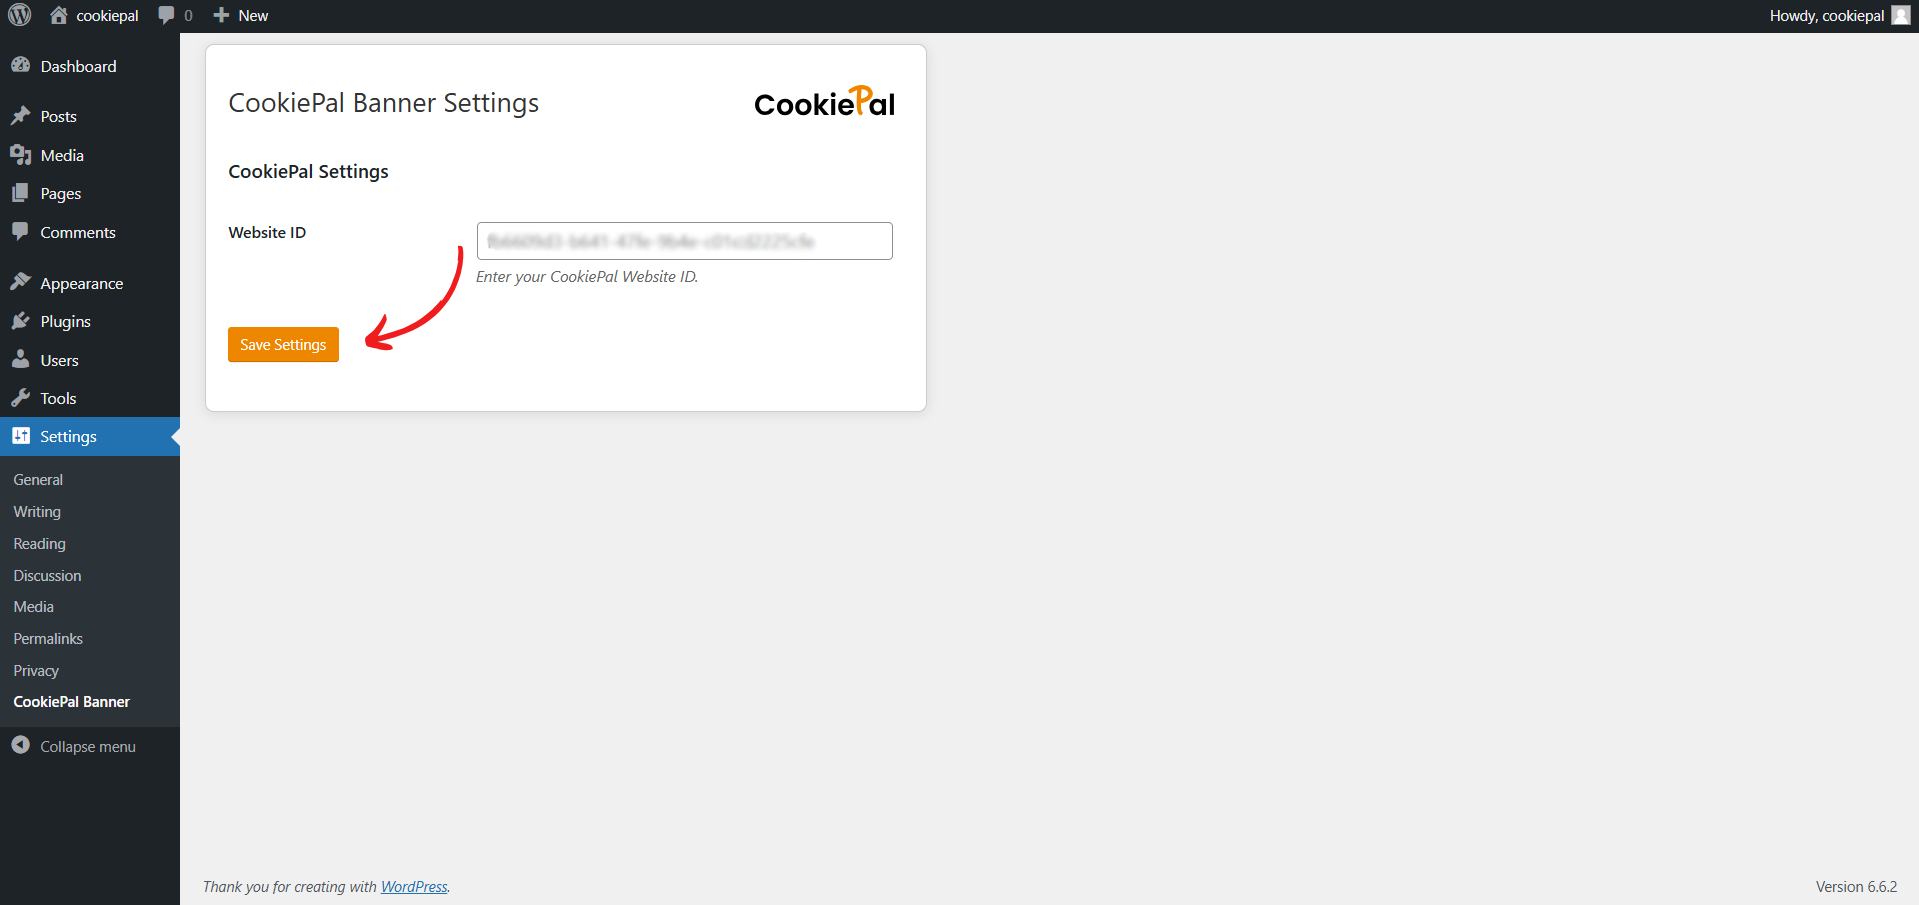
Guardar cambios: haz clic en "Guardar configuración" para aplicar los cambios.
El plugin de WordPress instala el banner de CookiePal y admite flujos de consentimiento para GDPR, LGPD y CCPA cuando el dashboard de CookiePal está configurado para las regiones objetivo del sitio.
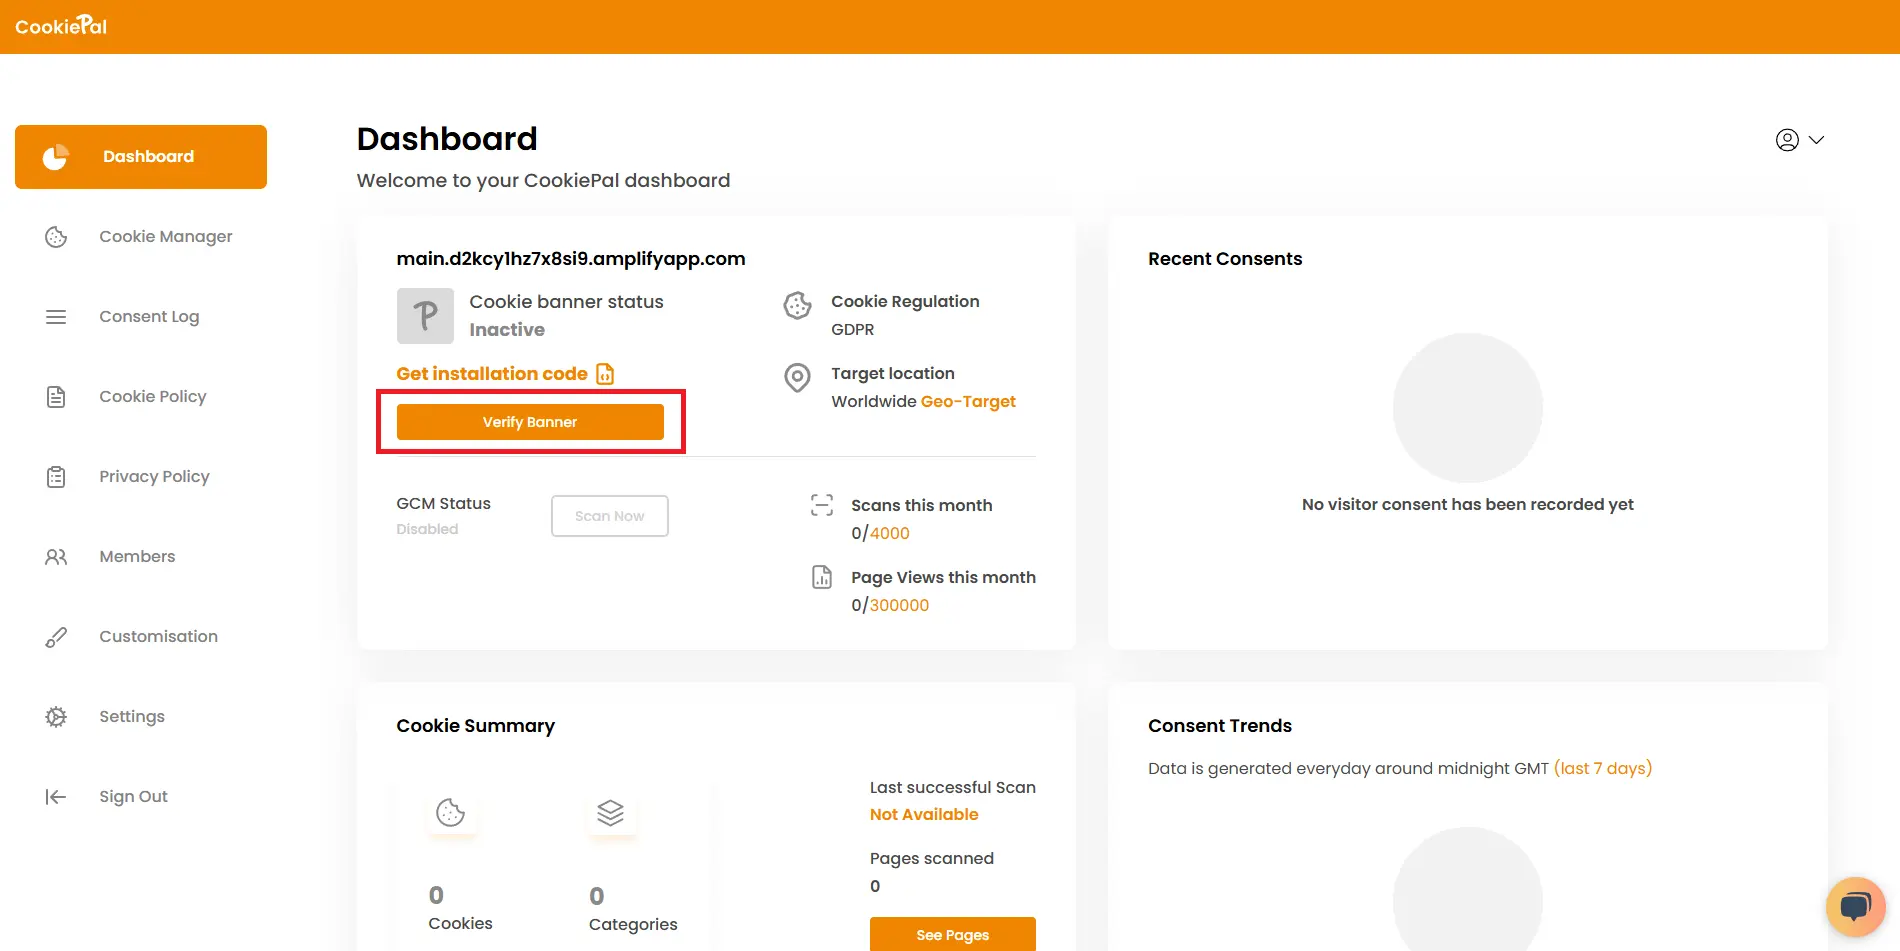
Verifica el banner de cookies
Verificar banner: vuelve al dashboard de CookiePal y asegúrate de que el banner de cookies esté activo en tu sitio web. El estado debería mostrarse como "Activo".
Implementación de prueba: visita tu sitio web para confirmar que el banner de consentimiento de cookies esté visible y funcione correctamente.
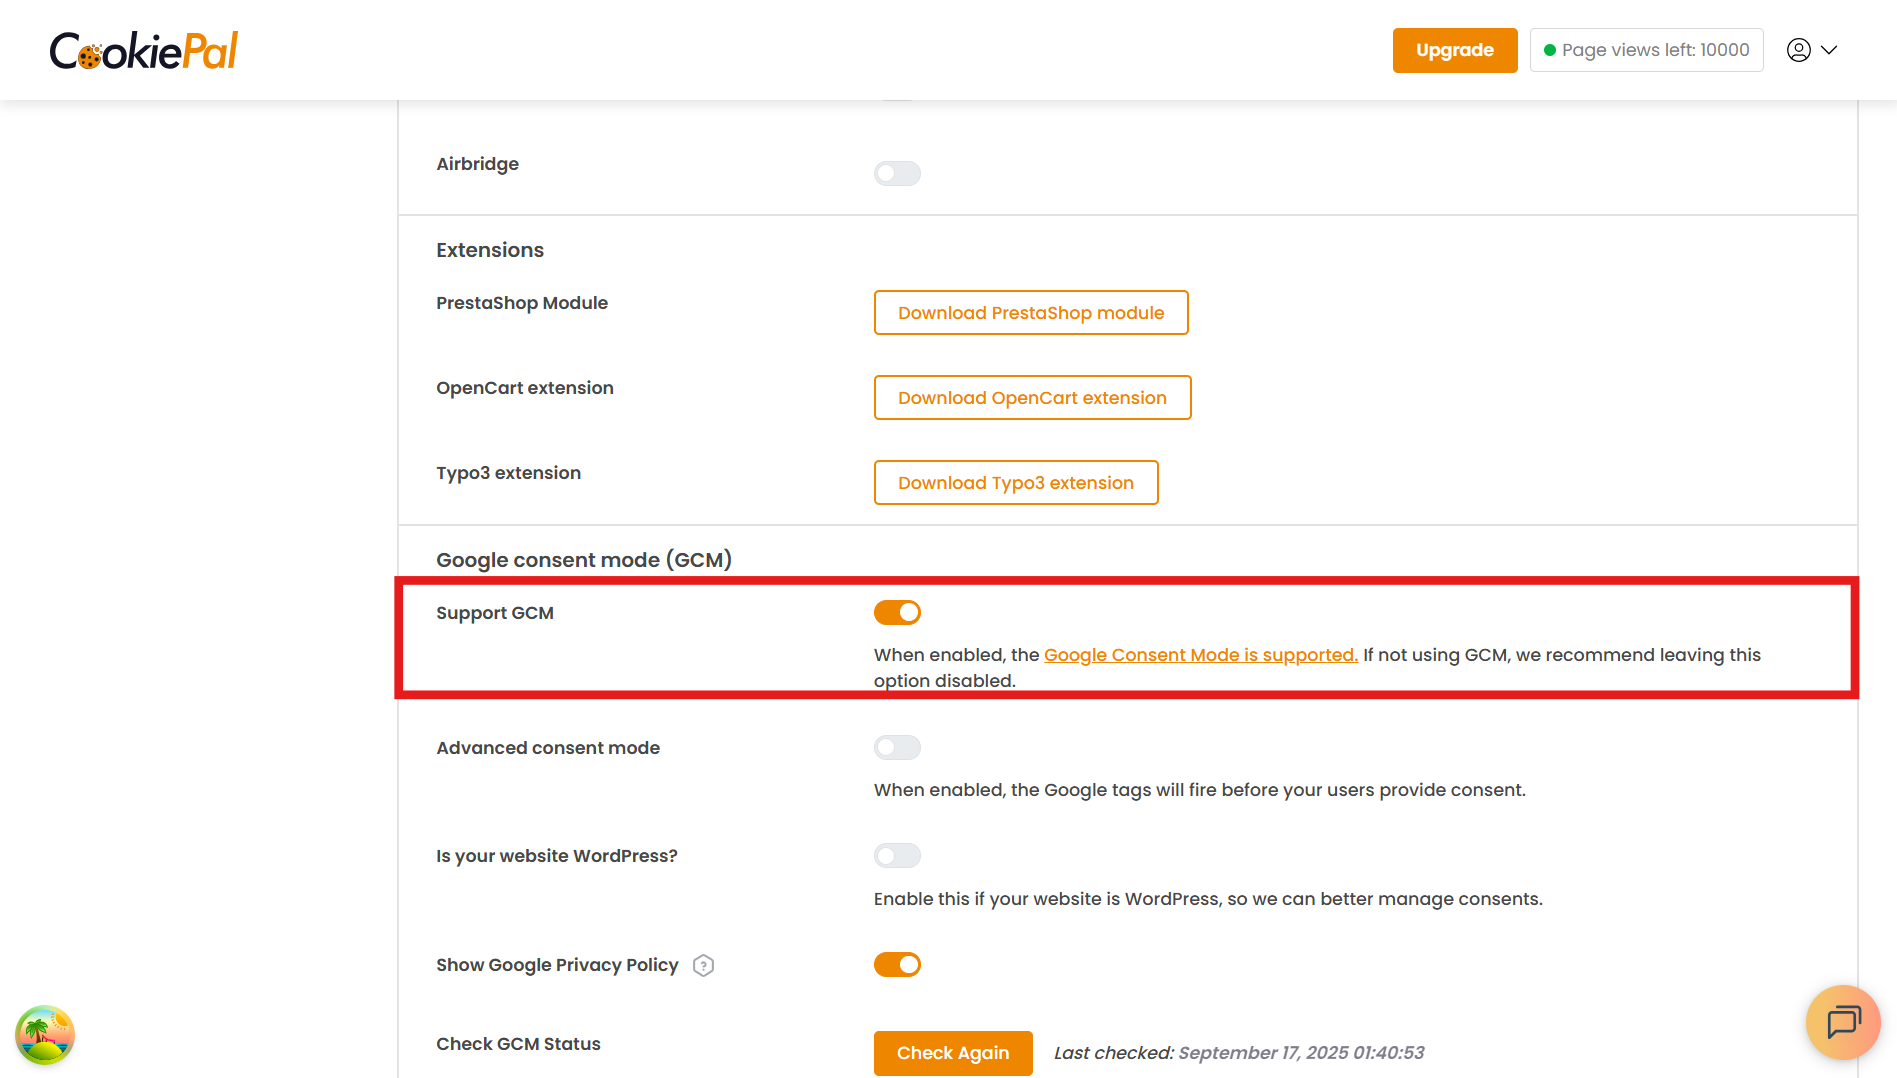
Habilitar Google Consent Mode
Si deseas utilizar Google Consent Mode (GCM), debes activarlo en la sección Configuración del dashboard de CookiePal.